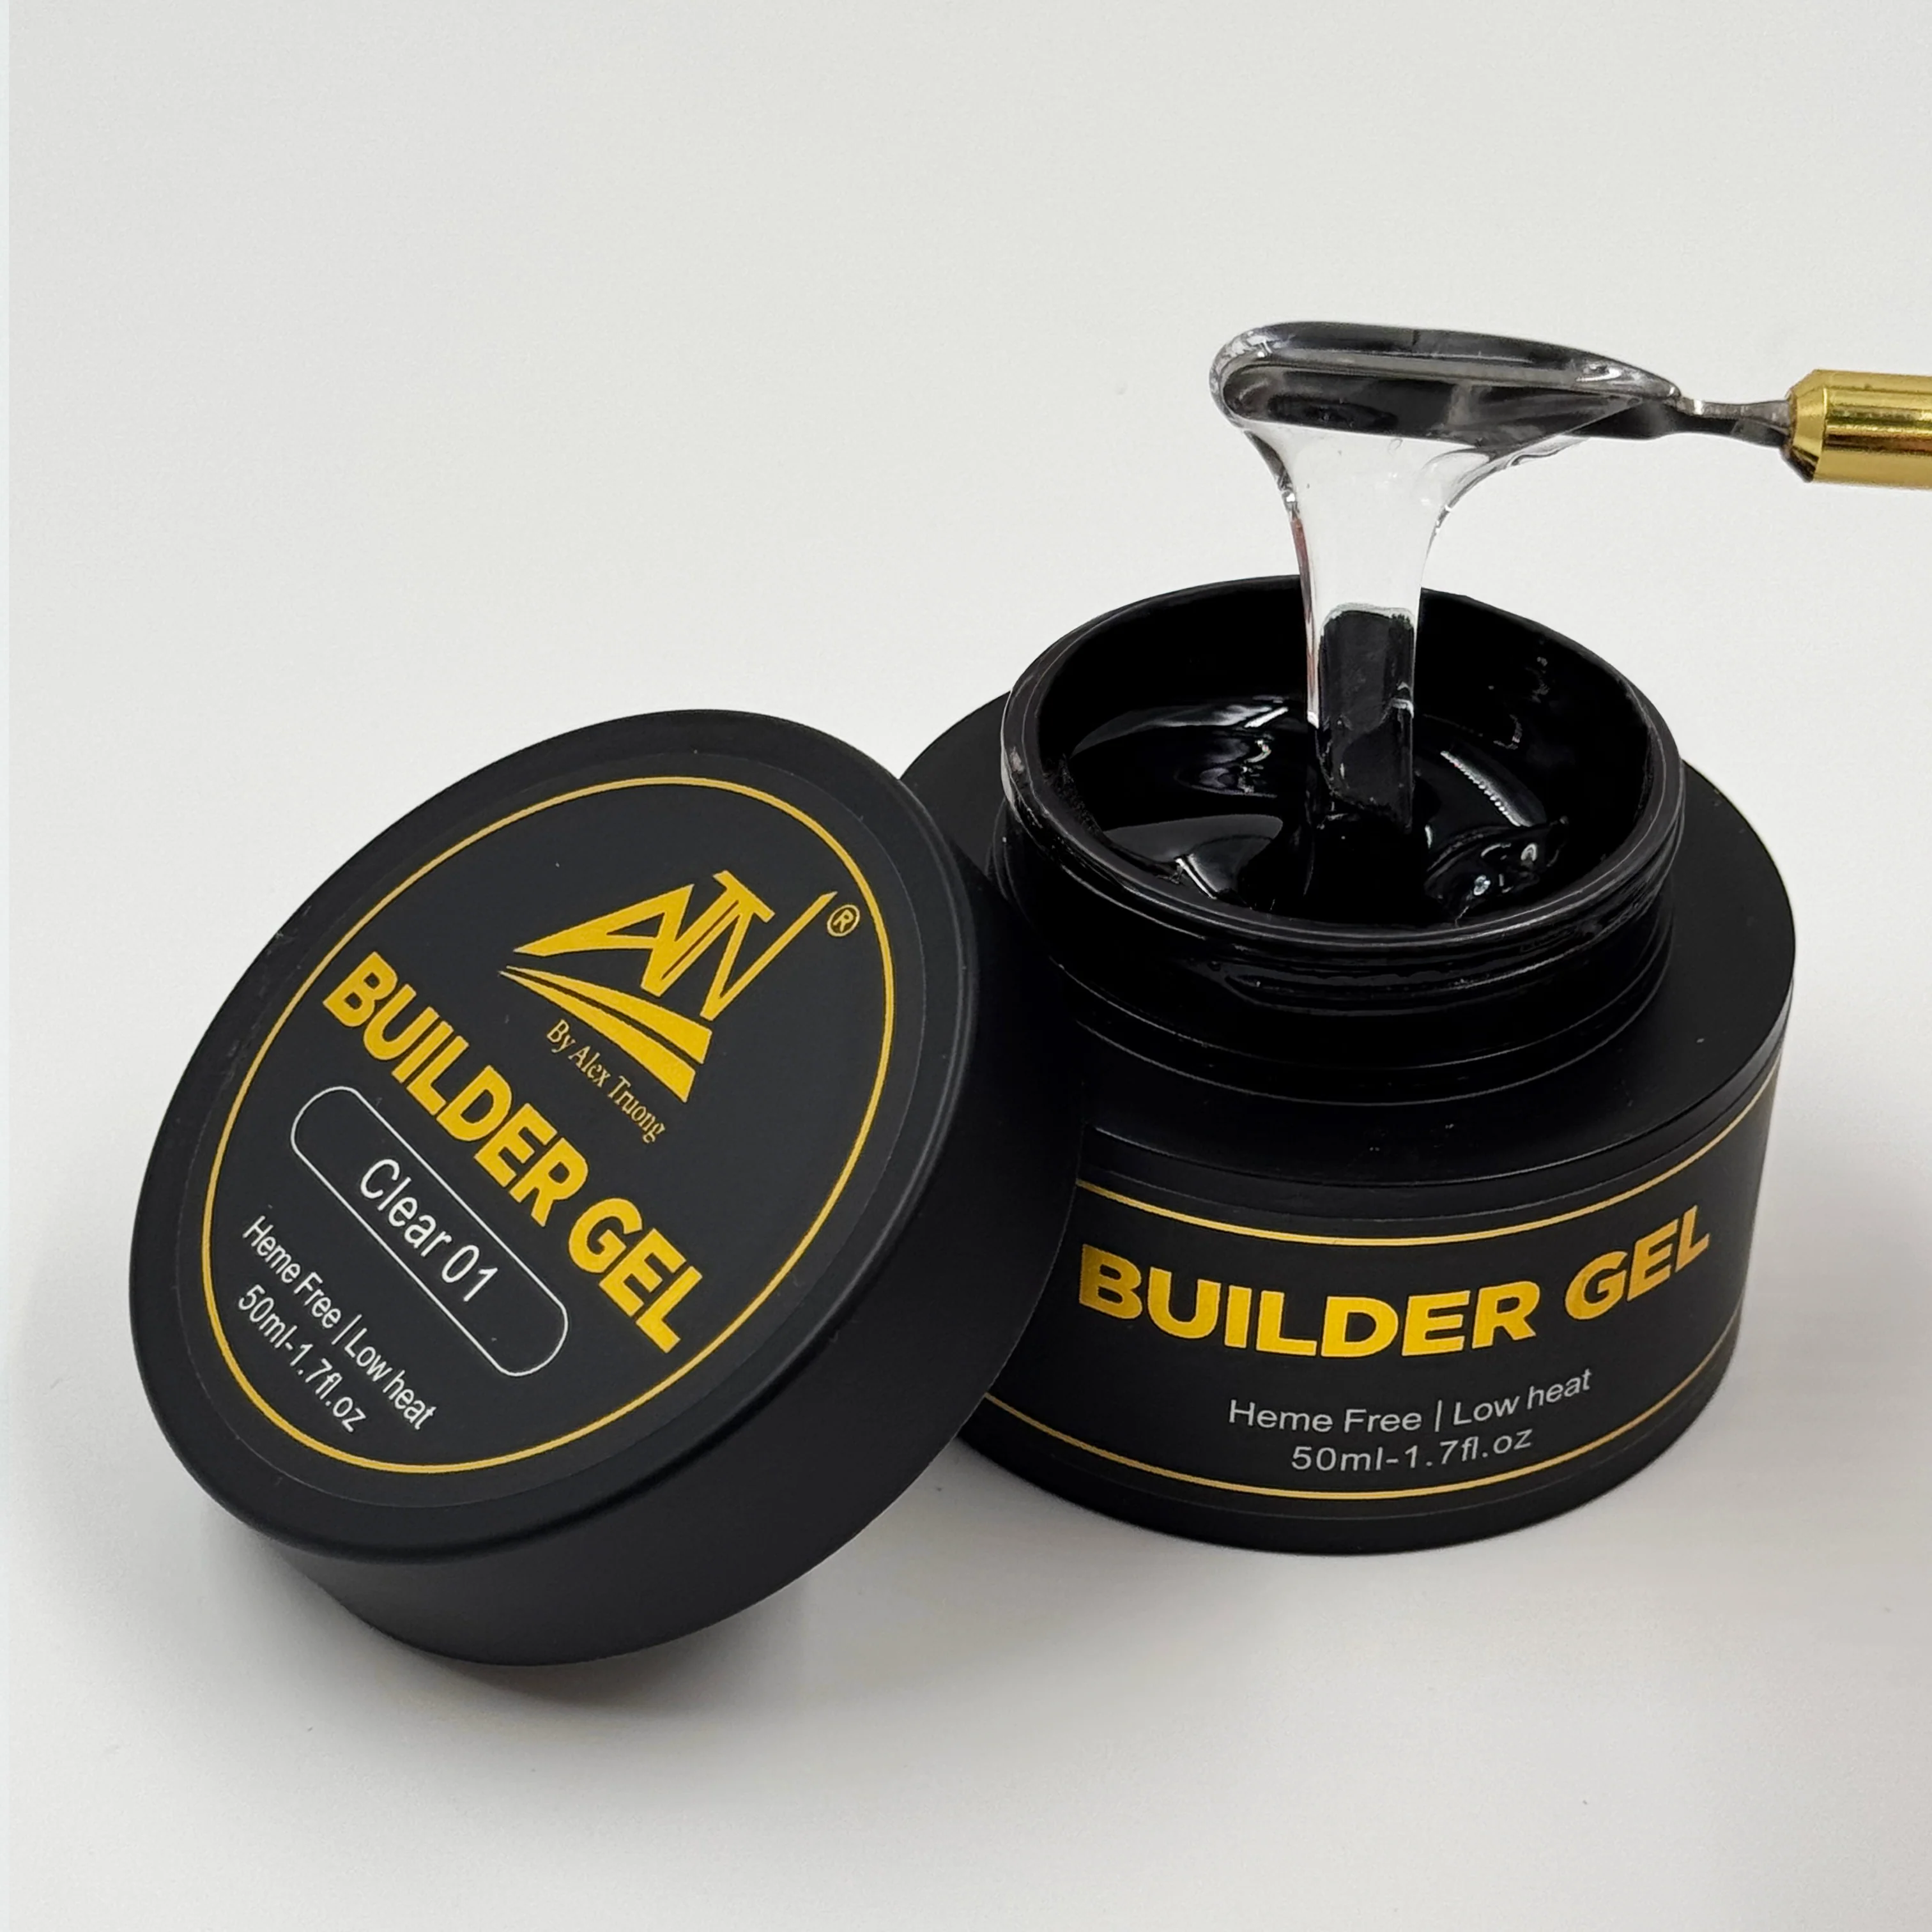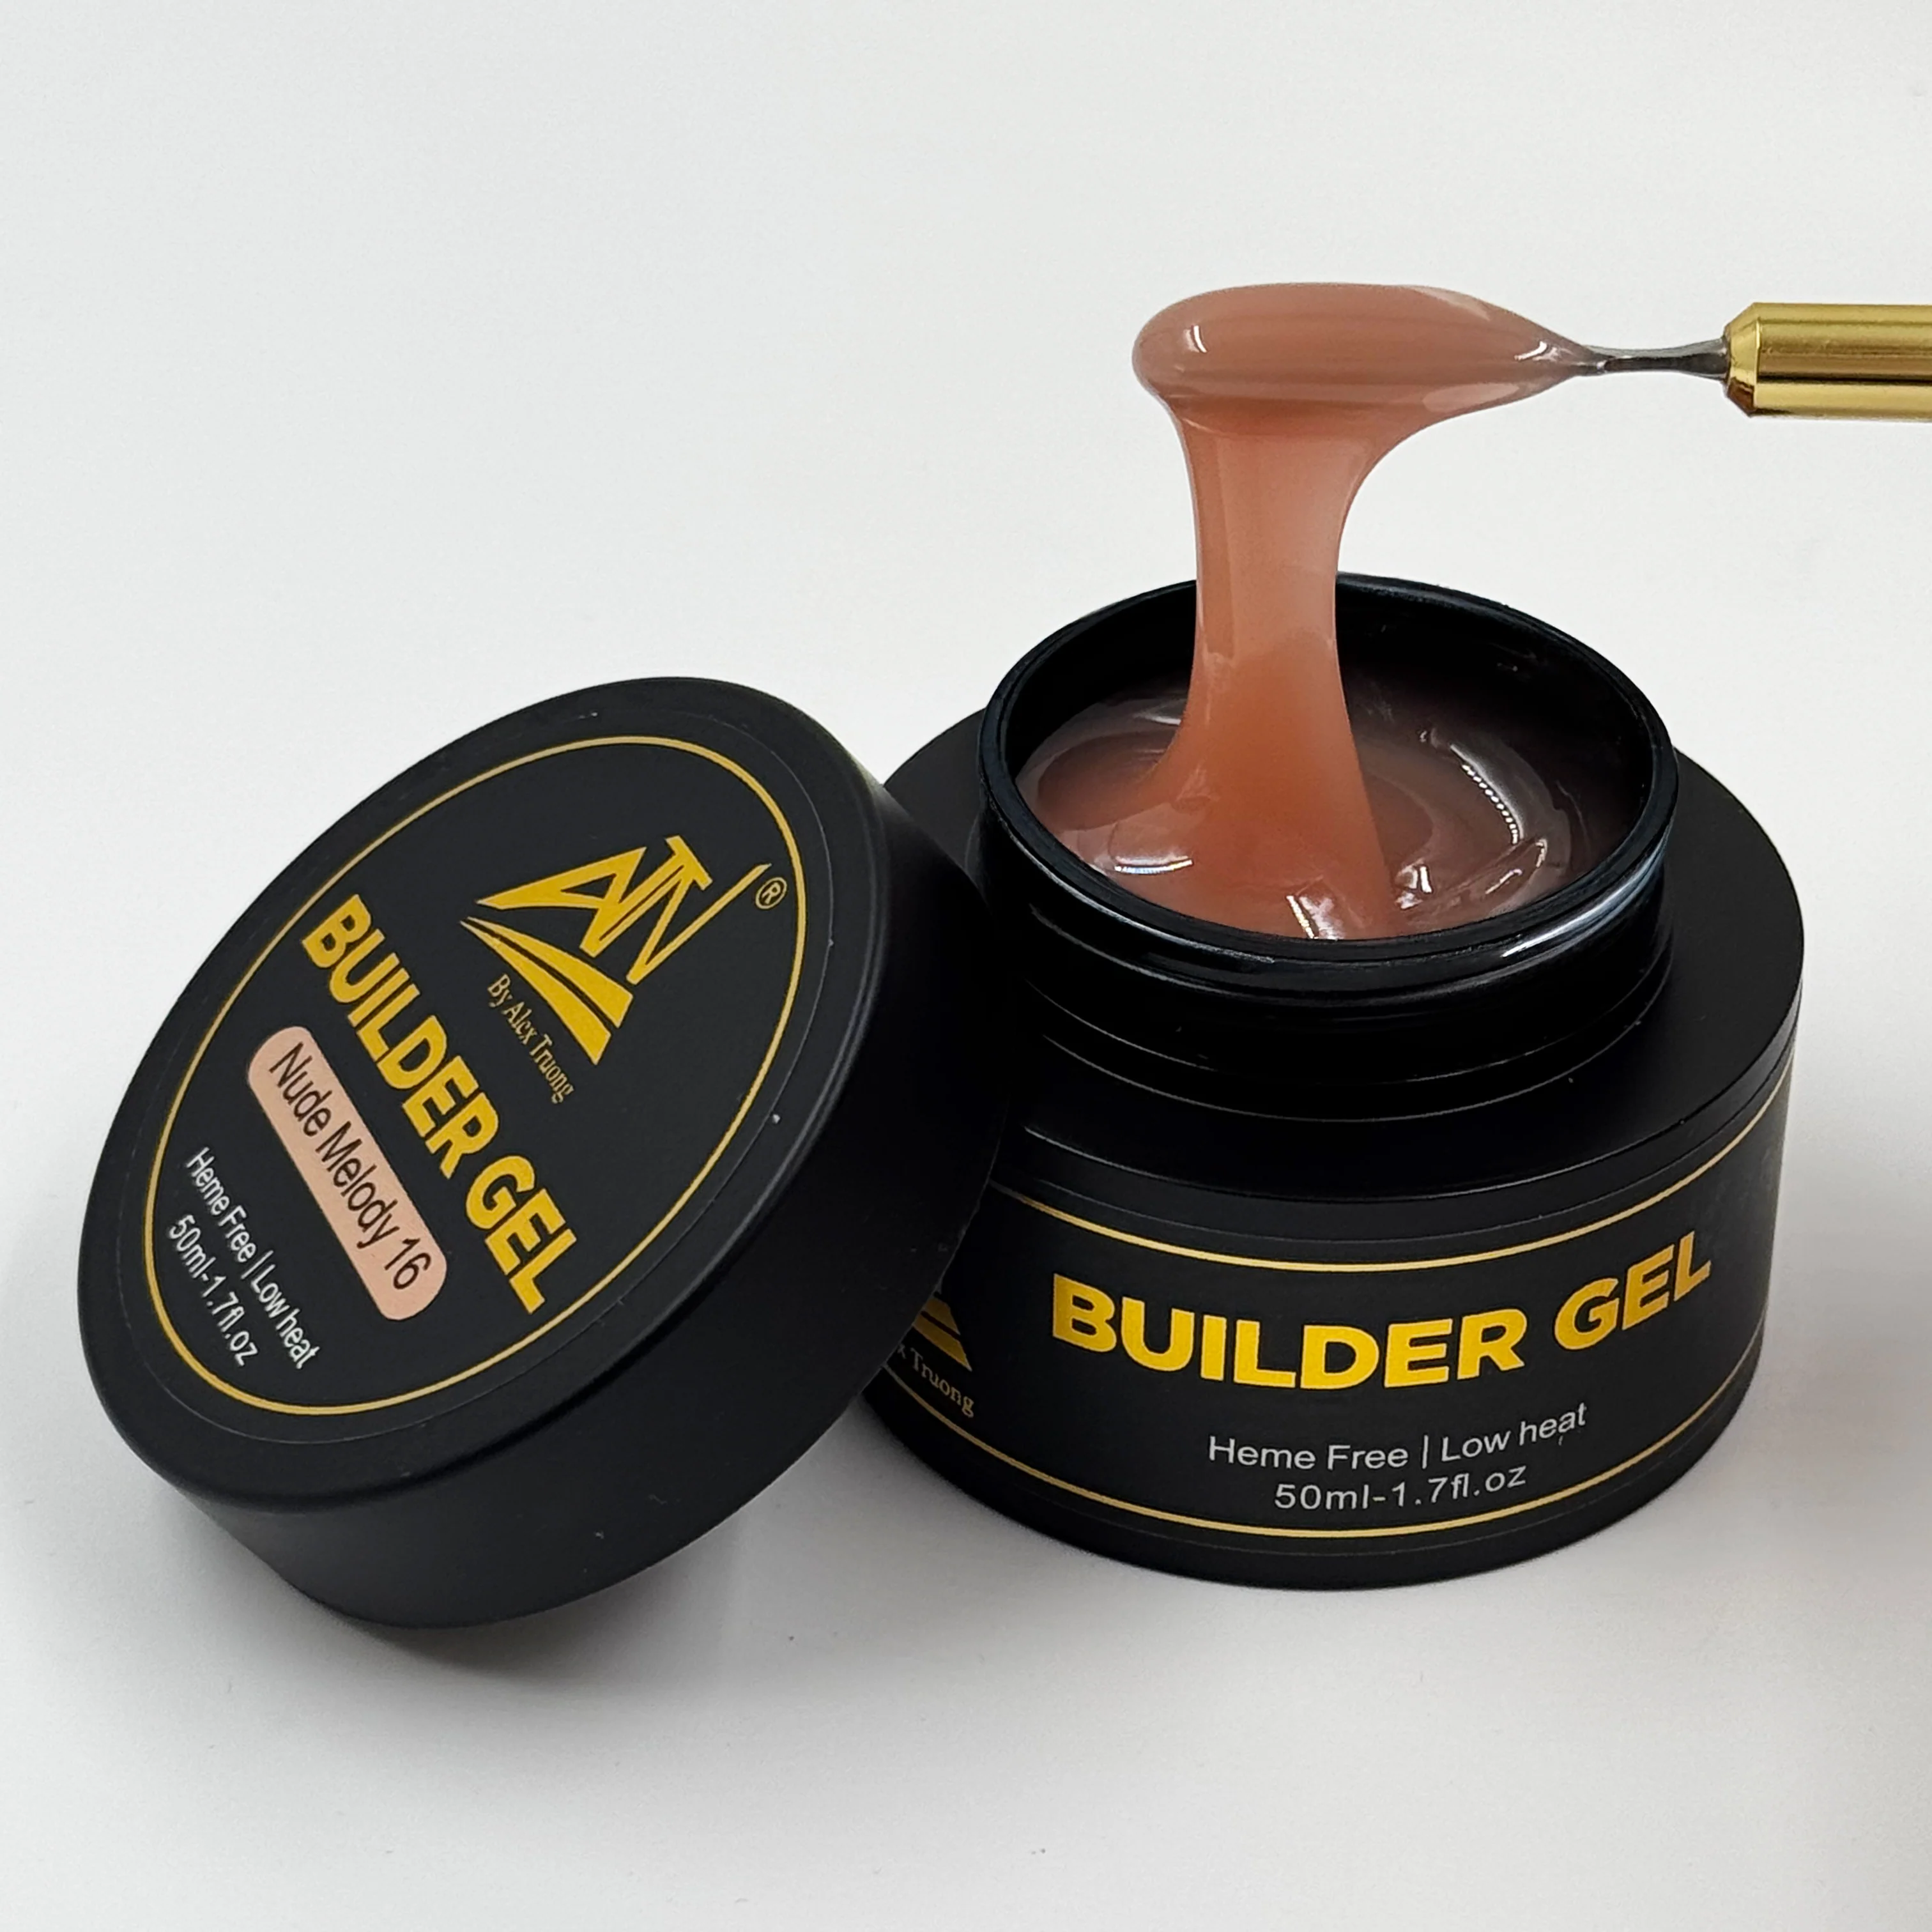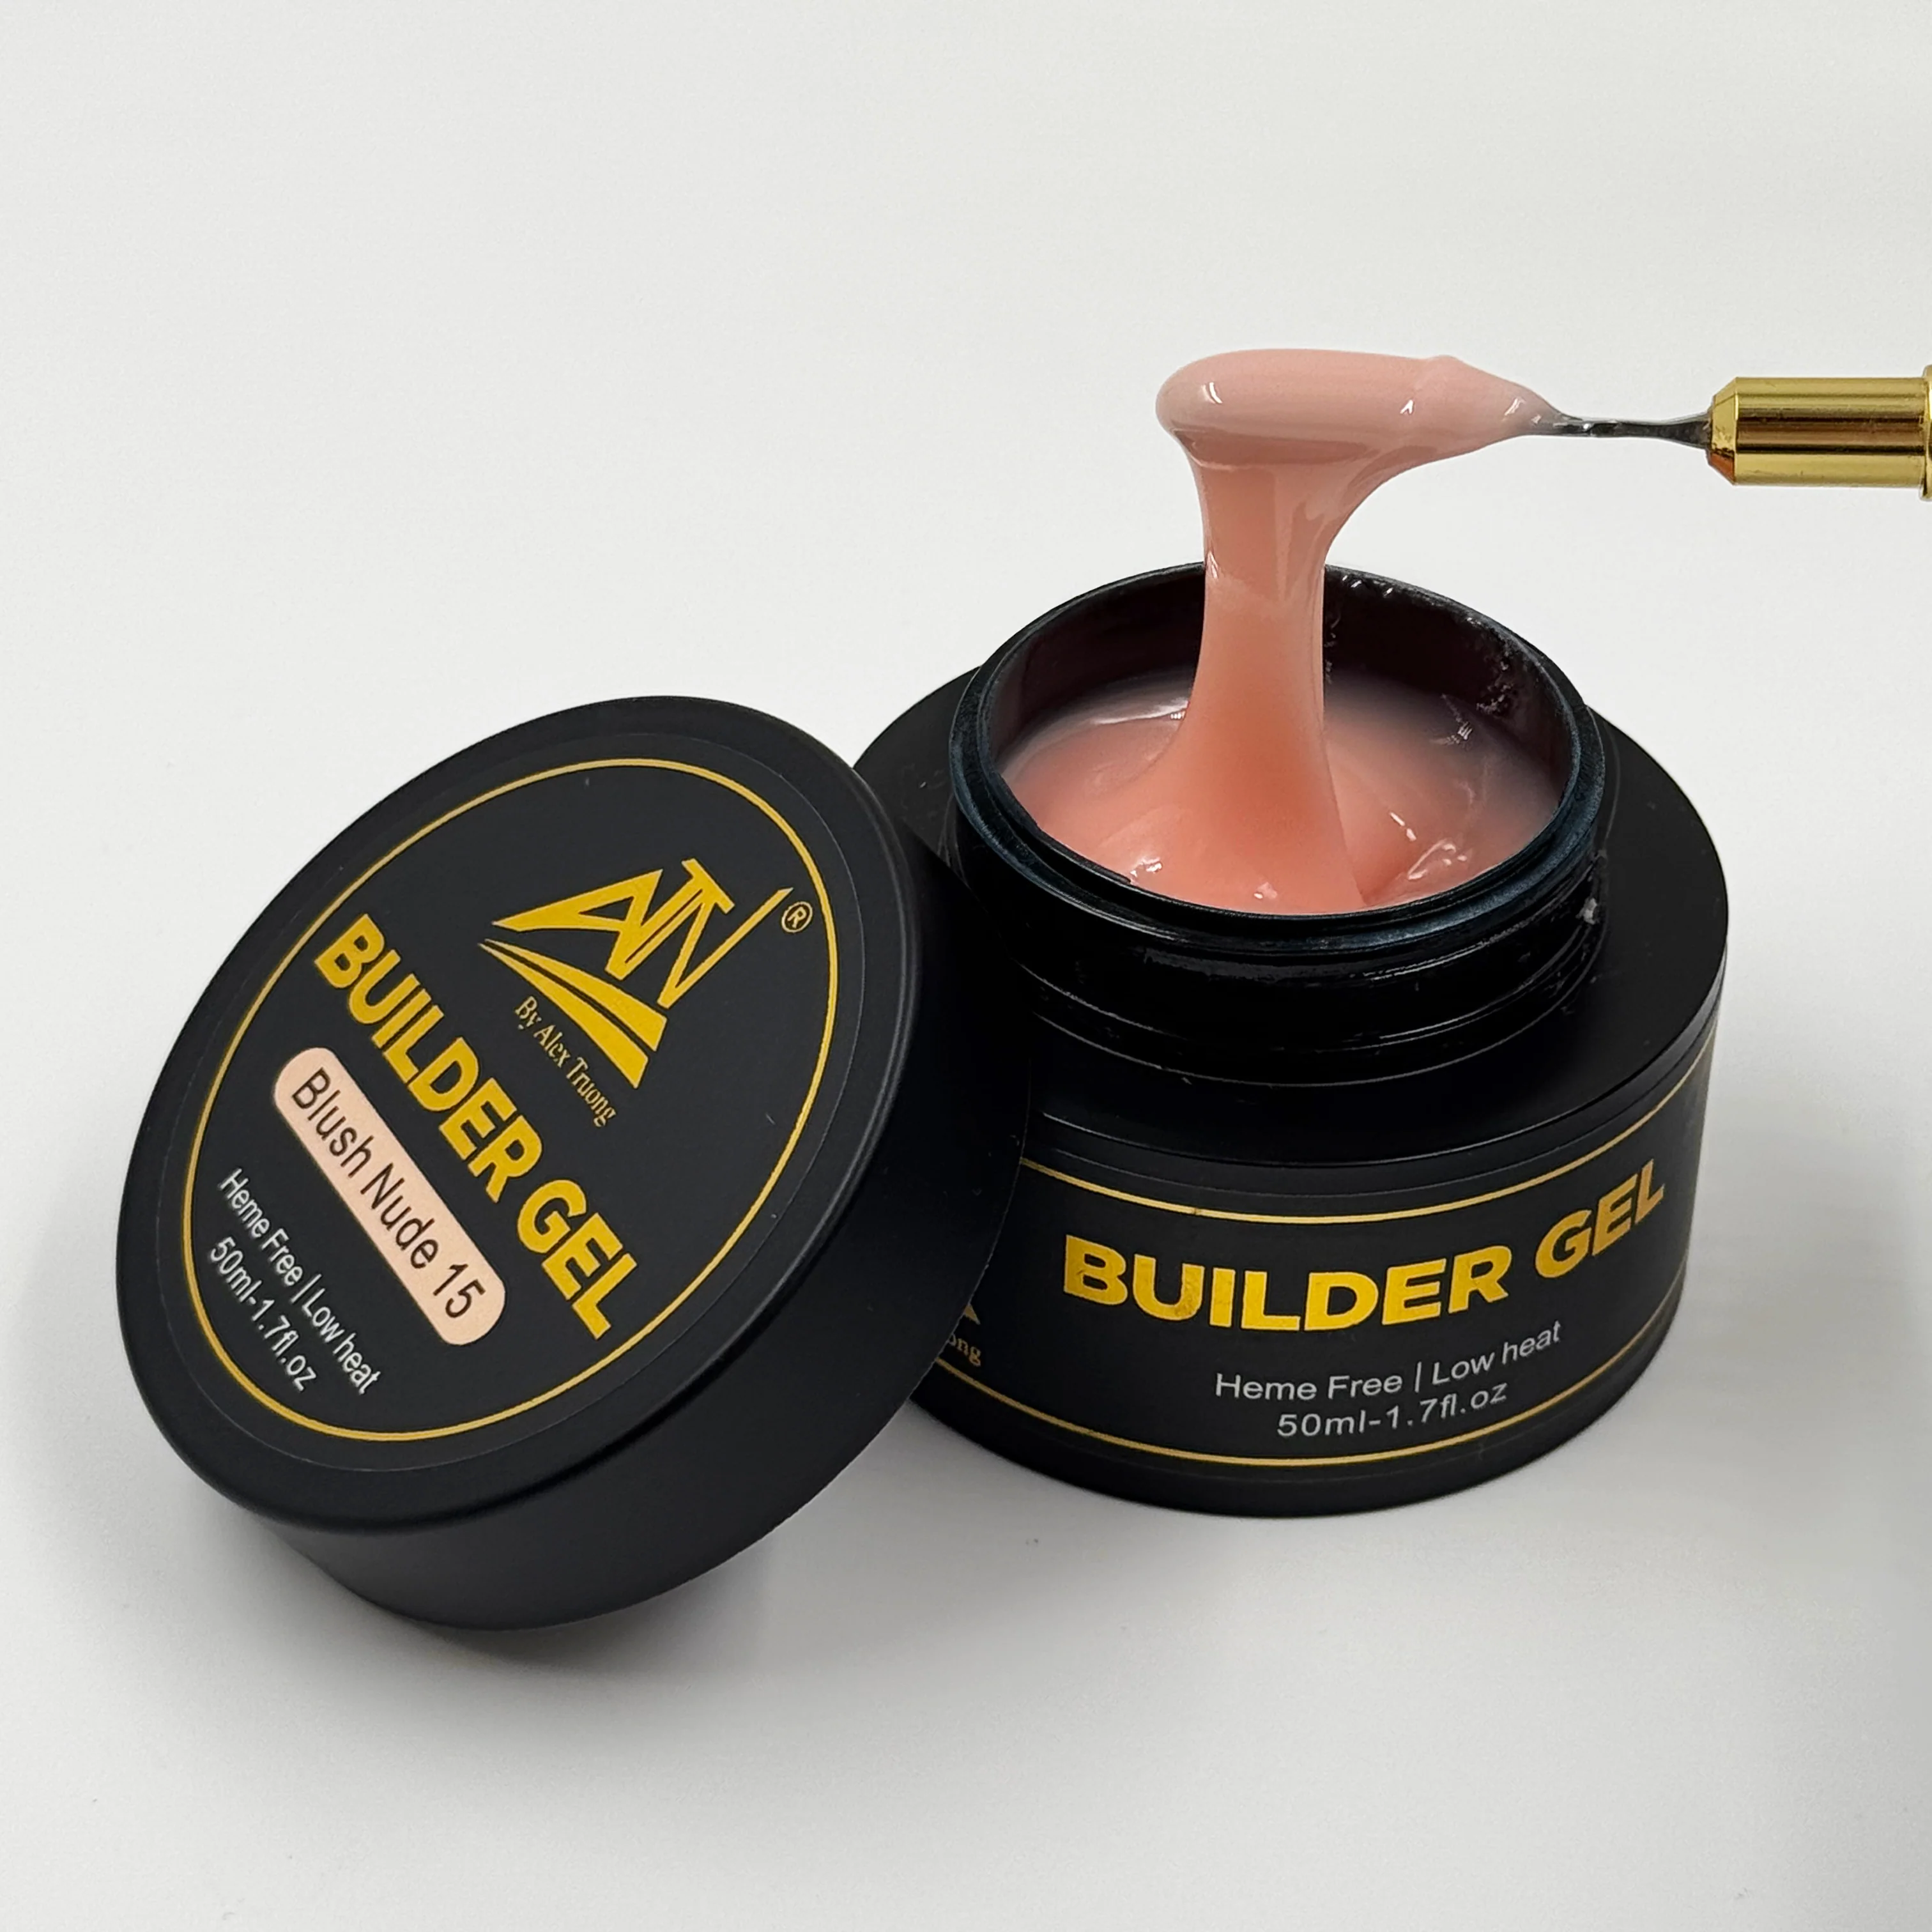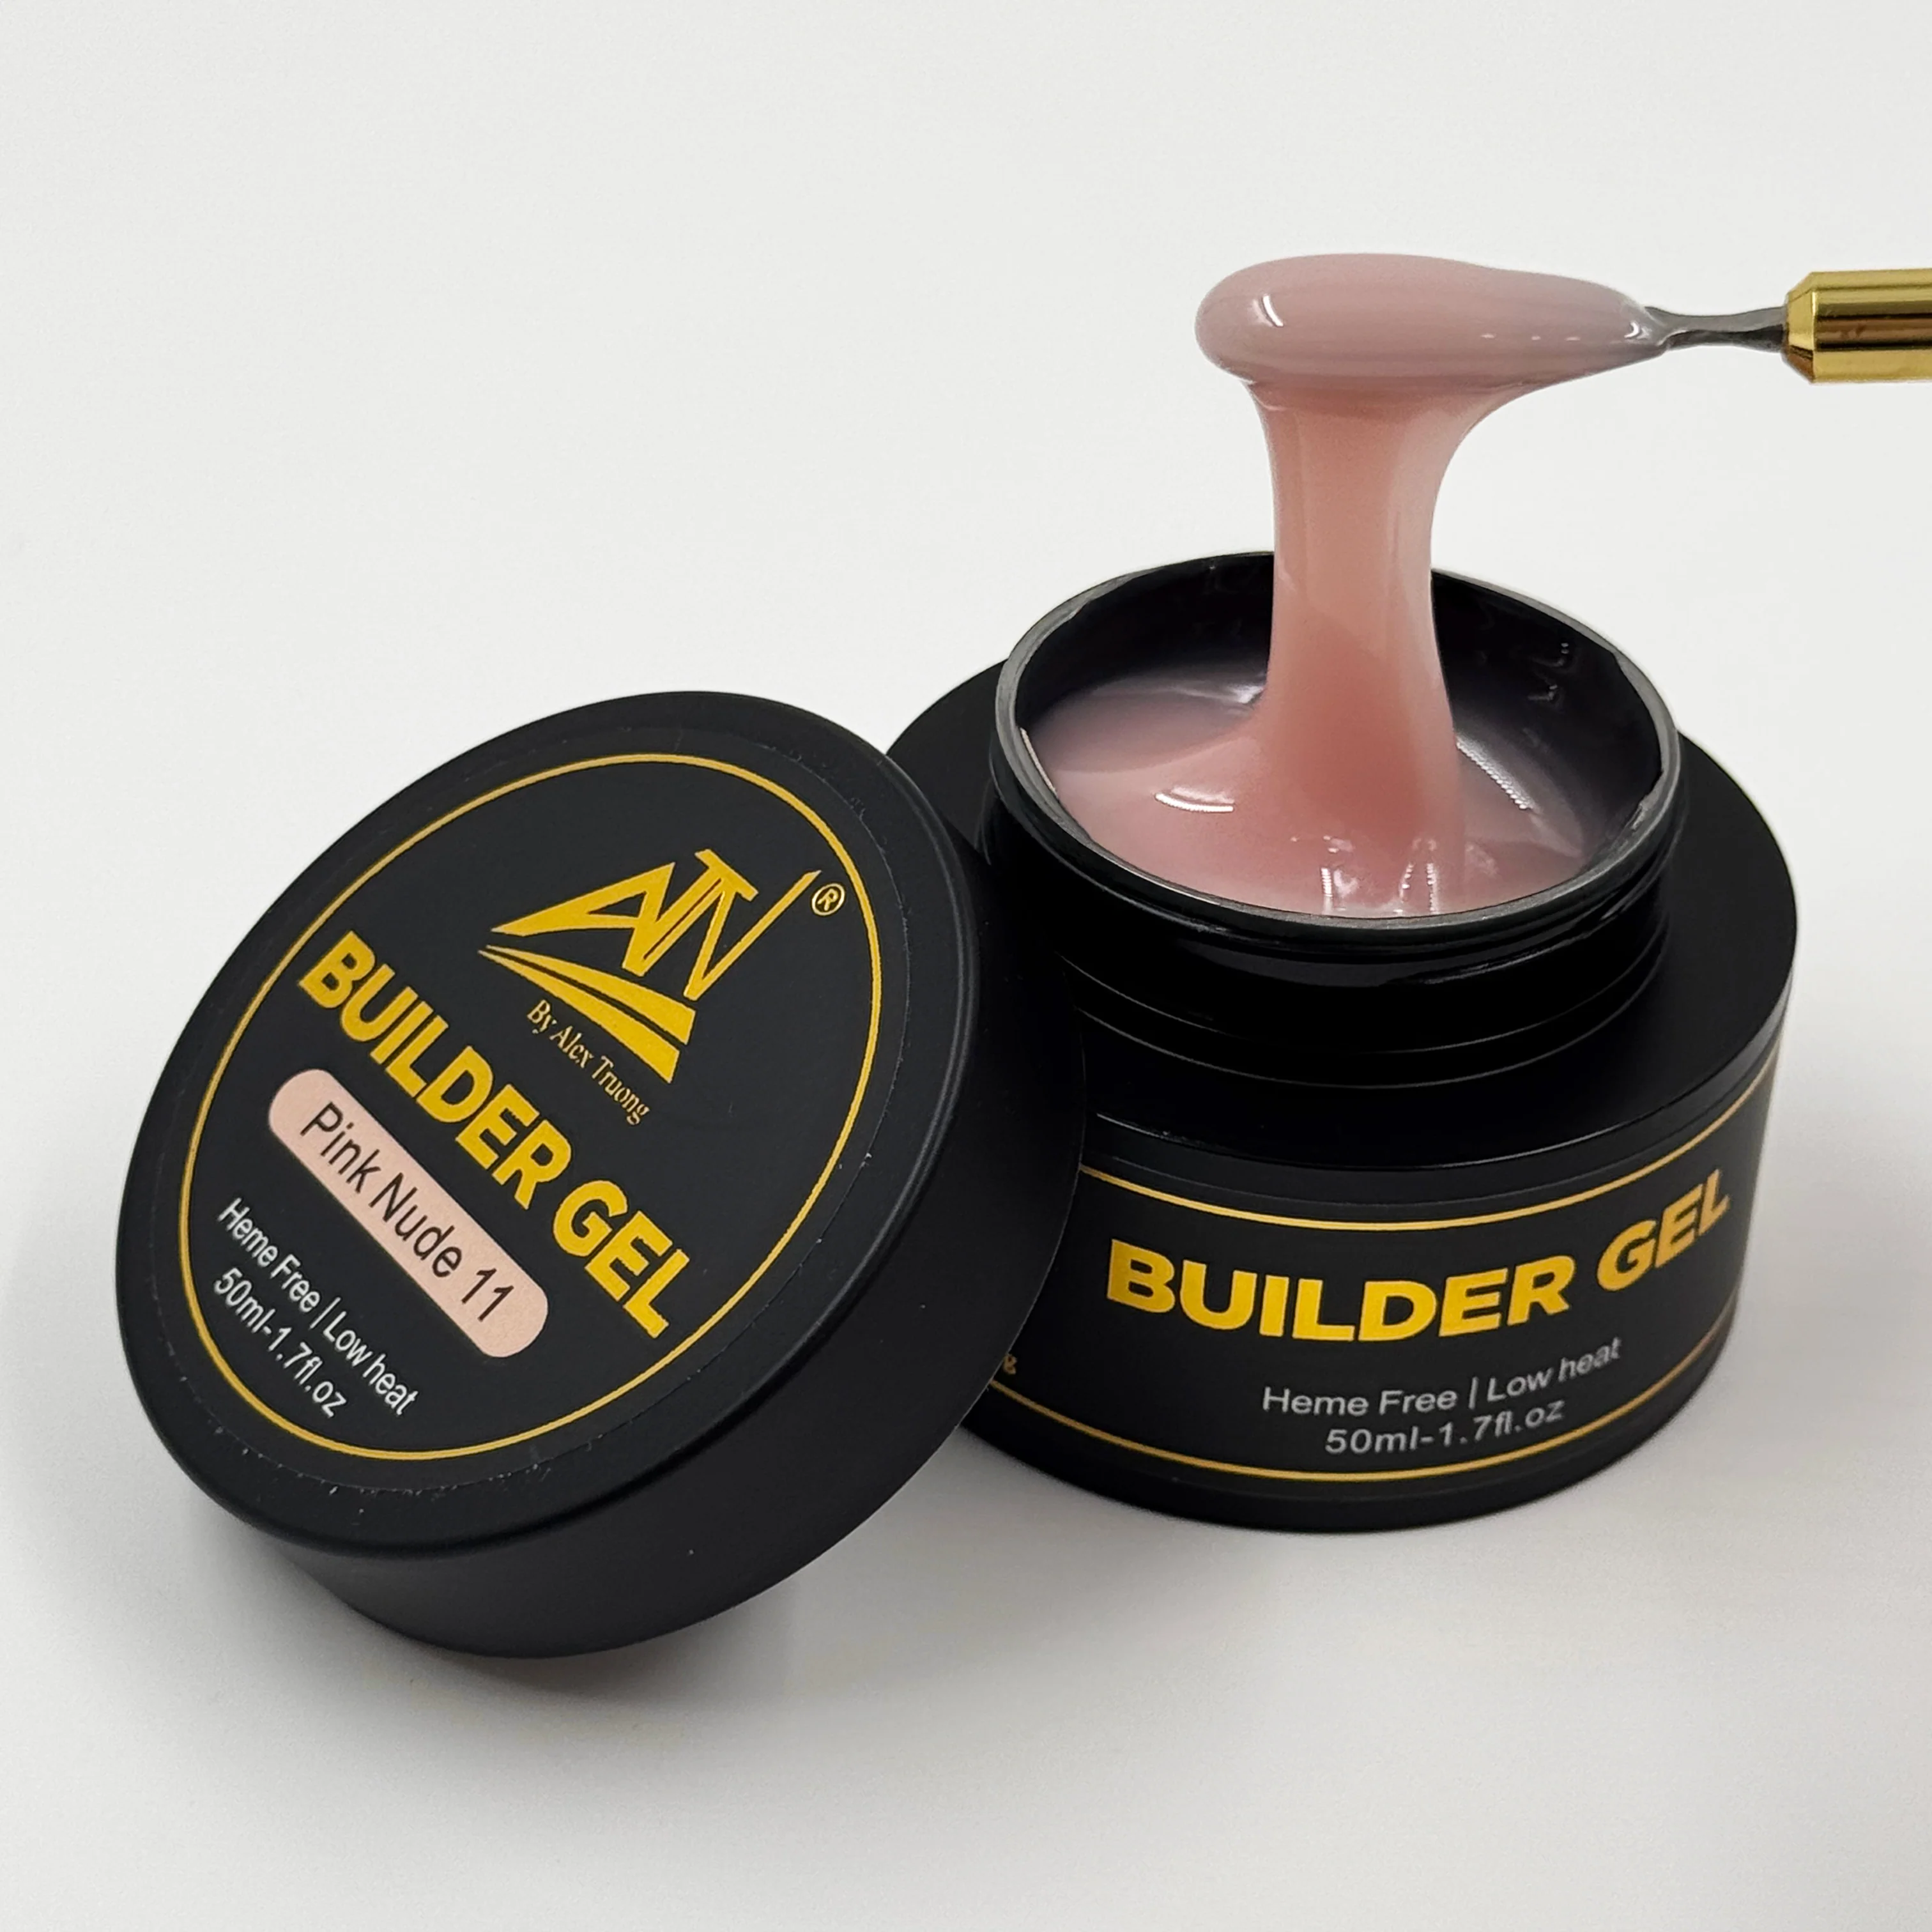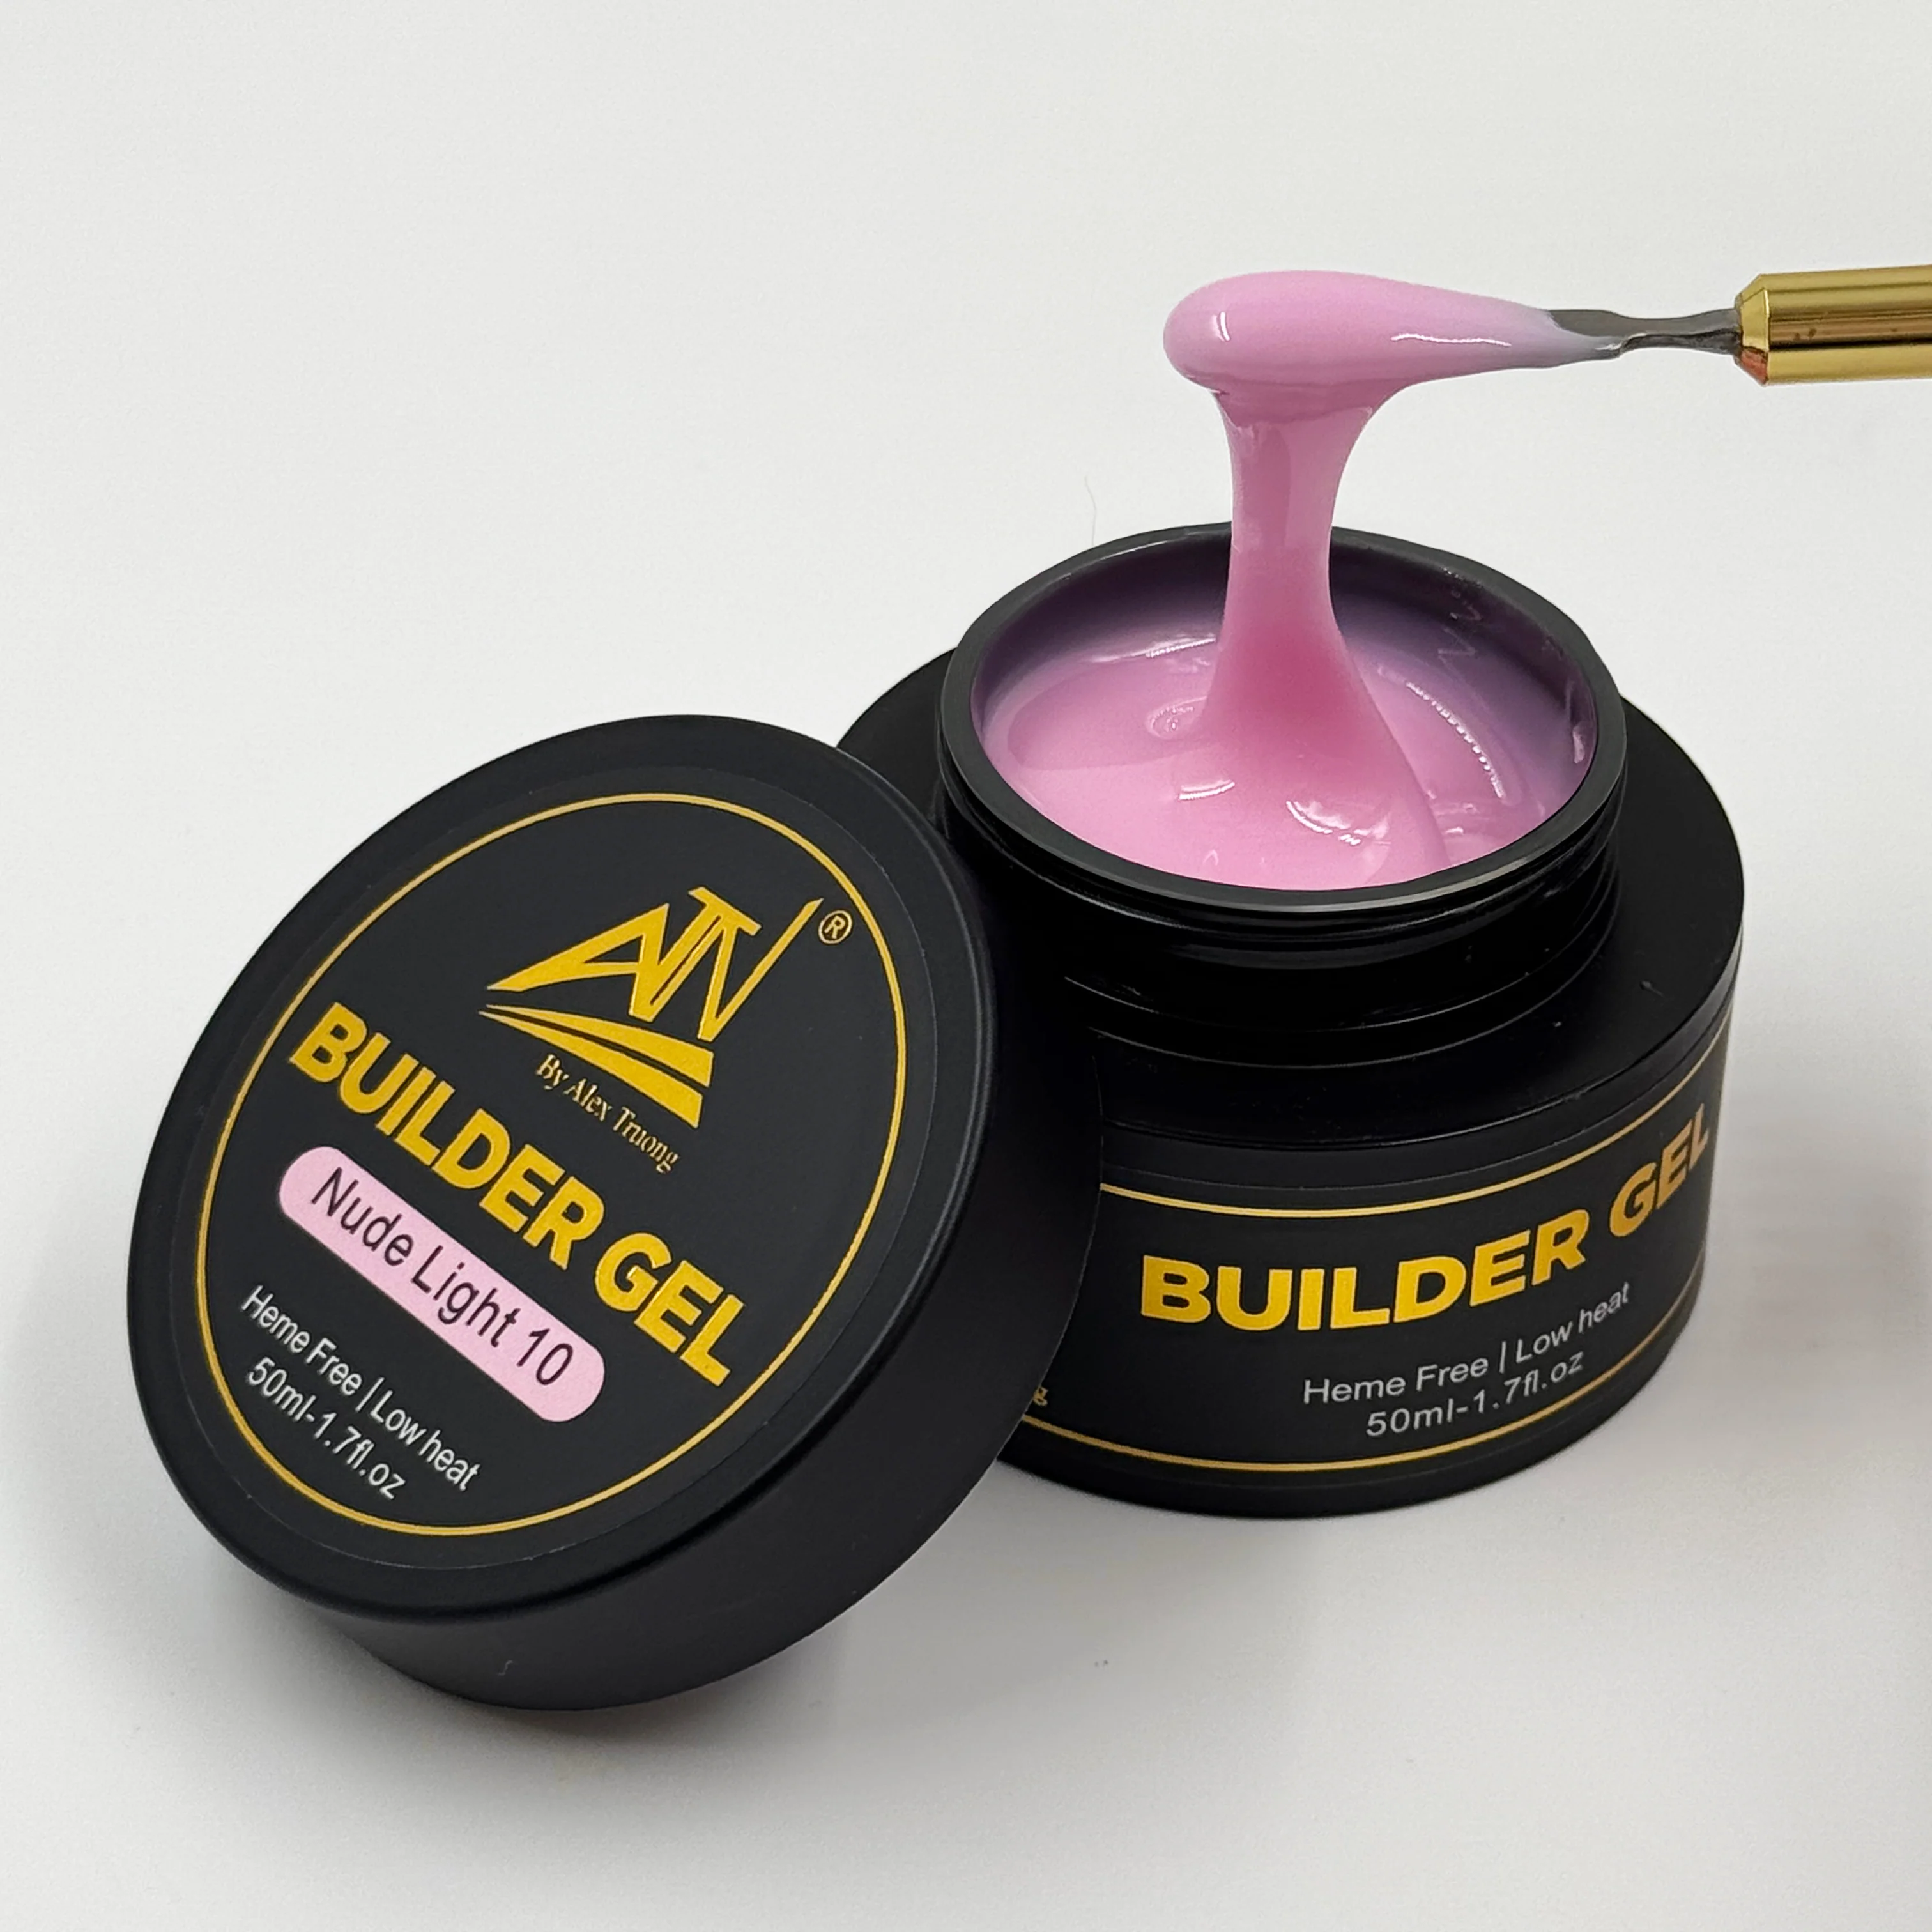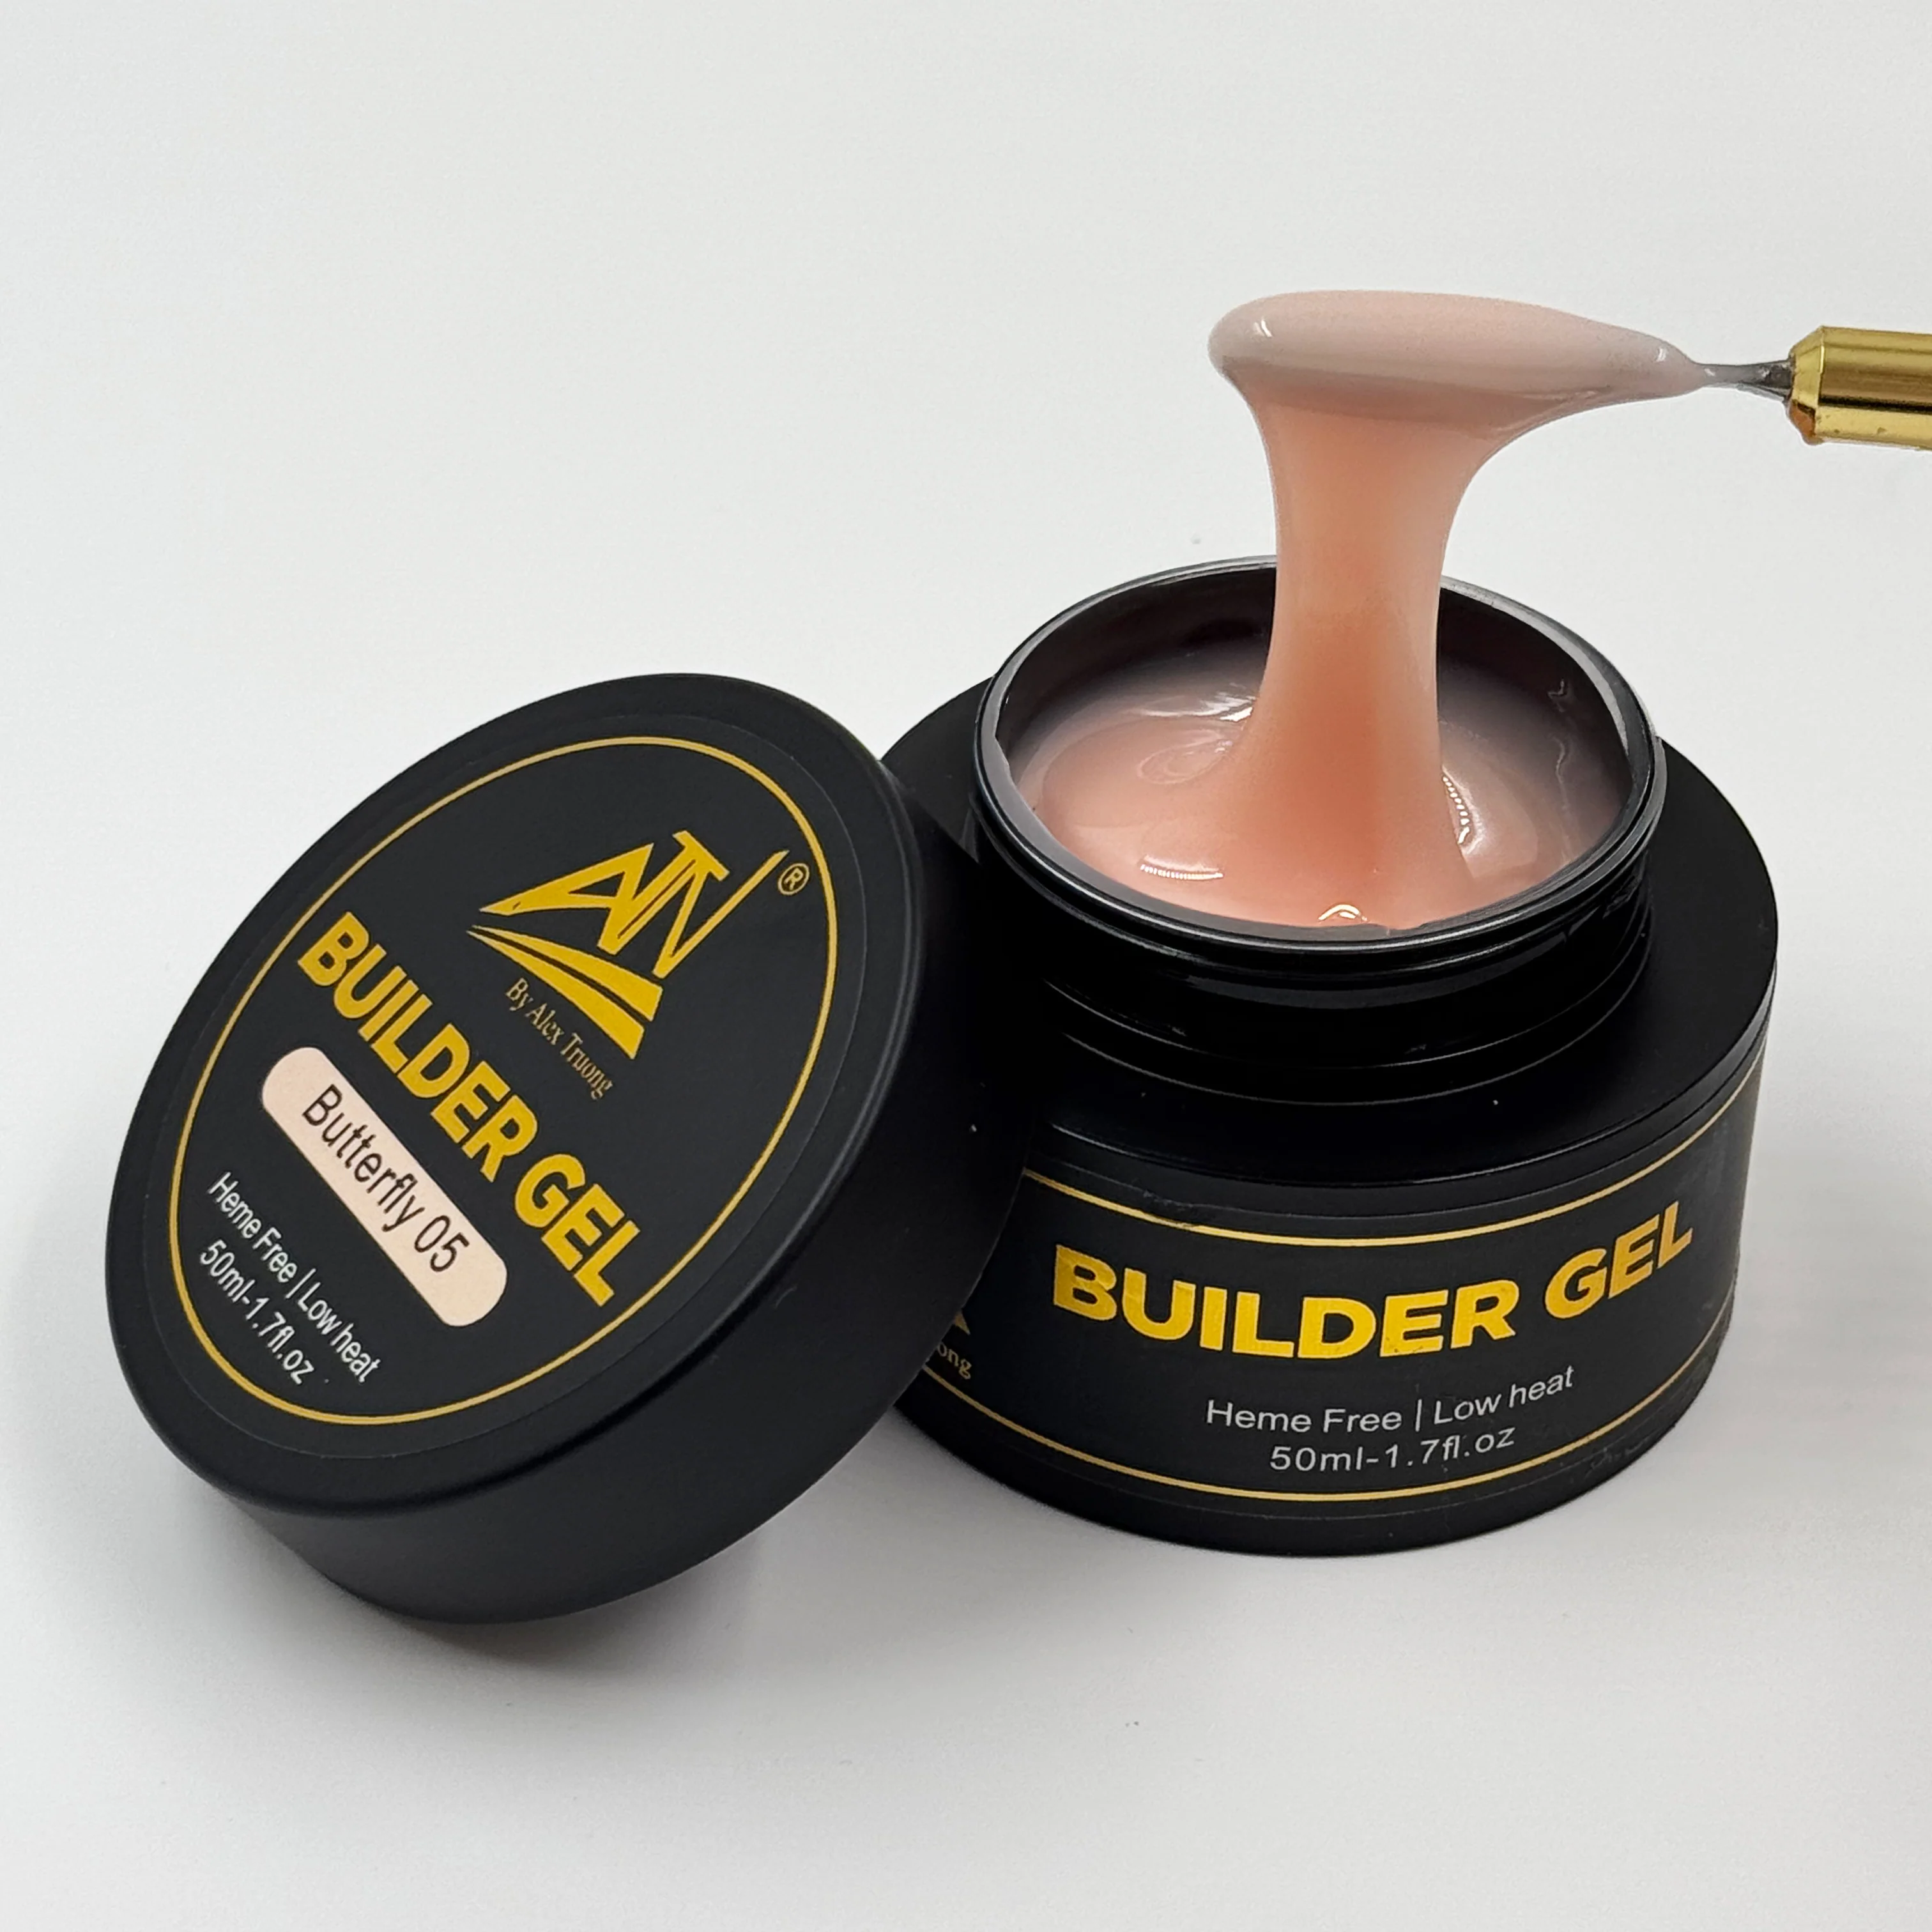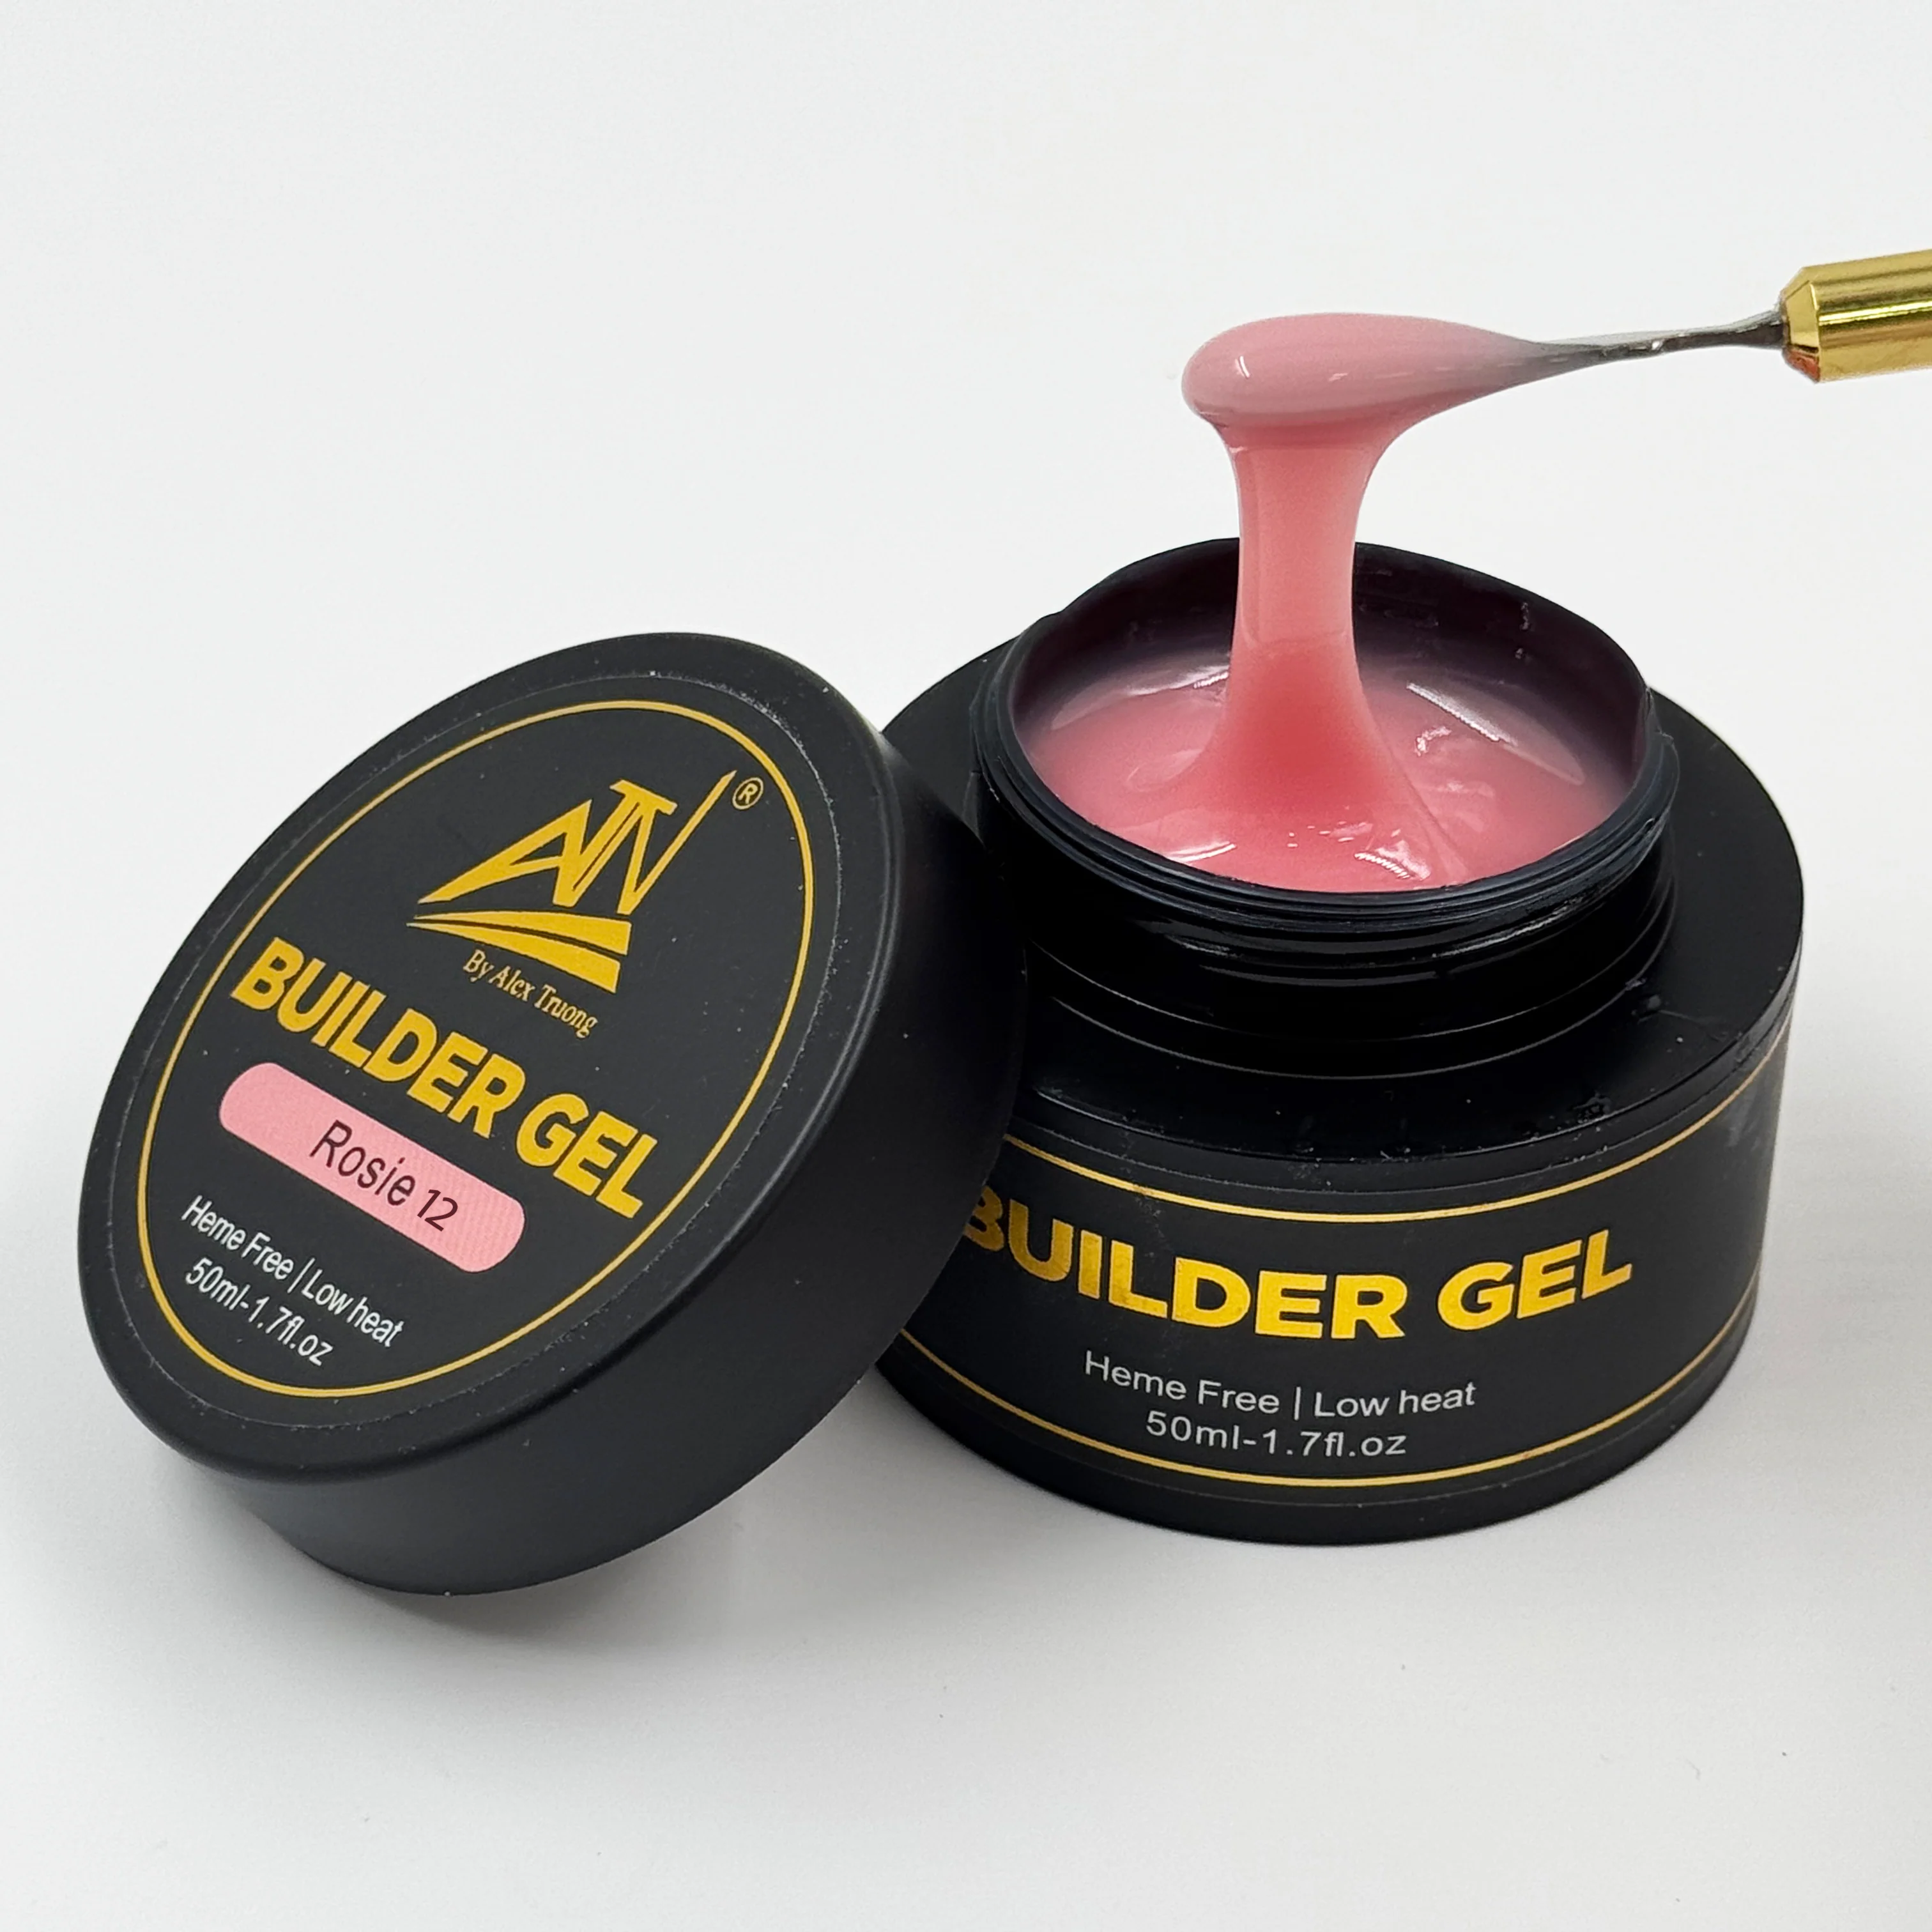
Builder Gel #12 Roise
..
1. Preparation (The Most Important Step)
-
Sanitize: Clean your hands and tools.
-
Prep the Cuticle: Gently push back your cuticles and remove any dead skin from the nail plate.
-
Buff: Lightly buff the surface of the nail with a fine-grit buffer to remove the shine. This gives the gel something to "grip."
-
Dehydrate & Prime: Wipe the nails with alcohol or a nail dehydrator, then apply a primer to ensure maximum adhesion.
2. The Base Layer
-
Apply a thin base coat (unless your specific builder gel is a "1-step" product).
-
Cure in a UV/LED lamp for 30–60 seconds.
3. Applying the Builder Gel
This is where the "building" happens. You generally want to use a three-step application for the gel itself:
-
The Slip Layer: Apply a very thin layer of the builder gel over the entire nail. Do not cure yet. This "wet" layer helps the next bead of gel flow into place.
-
The Bead: Pick up a larger bead of gel on your brush. Place it near the cuticle (but not touching the skin) and gently guide it down the center and toward the sides.
-
Self-Leveling: Flip your hand upside down for 5–10 seconds. This allows gravity to pull the gel toward the center, creating a natural "apex" (the strongest part of the nail).
4. Curing and Refining
-
Cure: Place your hand in the LED lamp for 60–90 seconds (or 2 minutes for UV).
Tip: If you feel a "heat spike," take your hand out for a few seconds, then put it back in.
-
Wipe: Use a lint-free wipe and 70% isopropyl alcohol to remove the sticky "inhibition" layer.
-
Shape: Use a nail file to refine the shape and smooth out any bumps.
5. Final Touch
-
Wipe away the dust from filing.
-
Apply a Gel Top Coat for high shine and protection.
-
Cure one last time for 60 seconds.
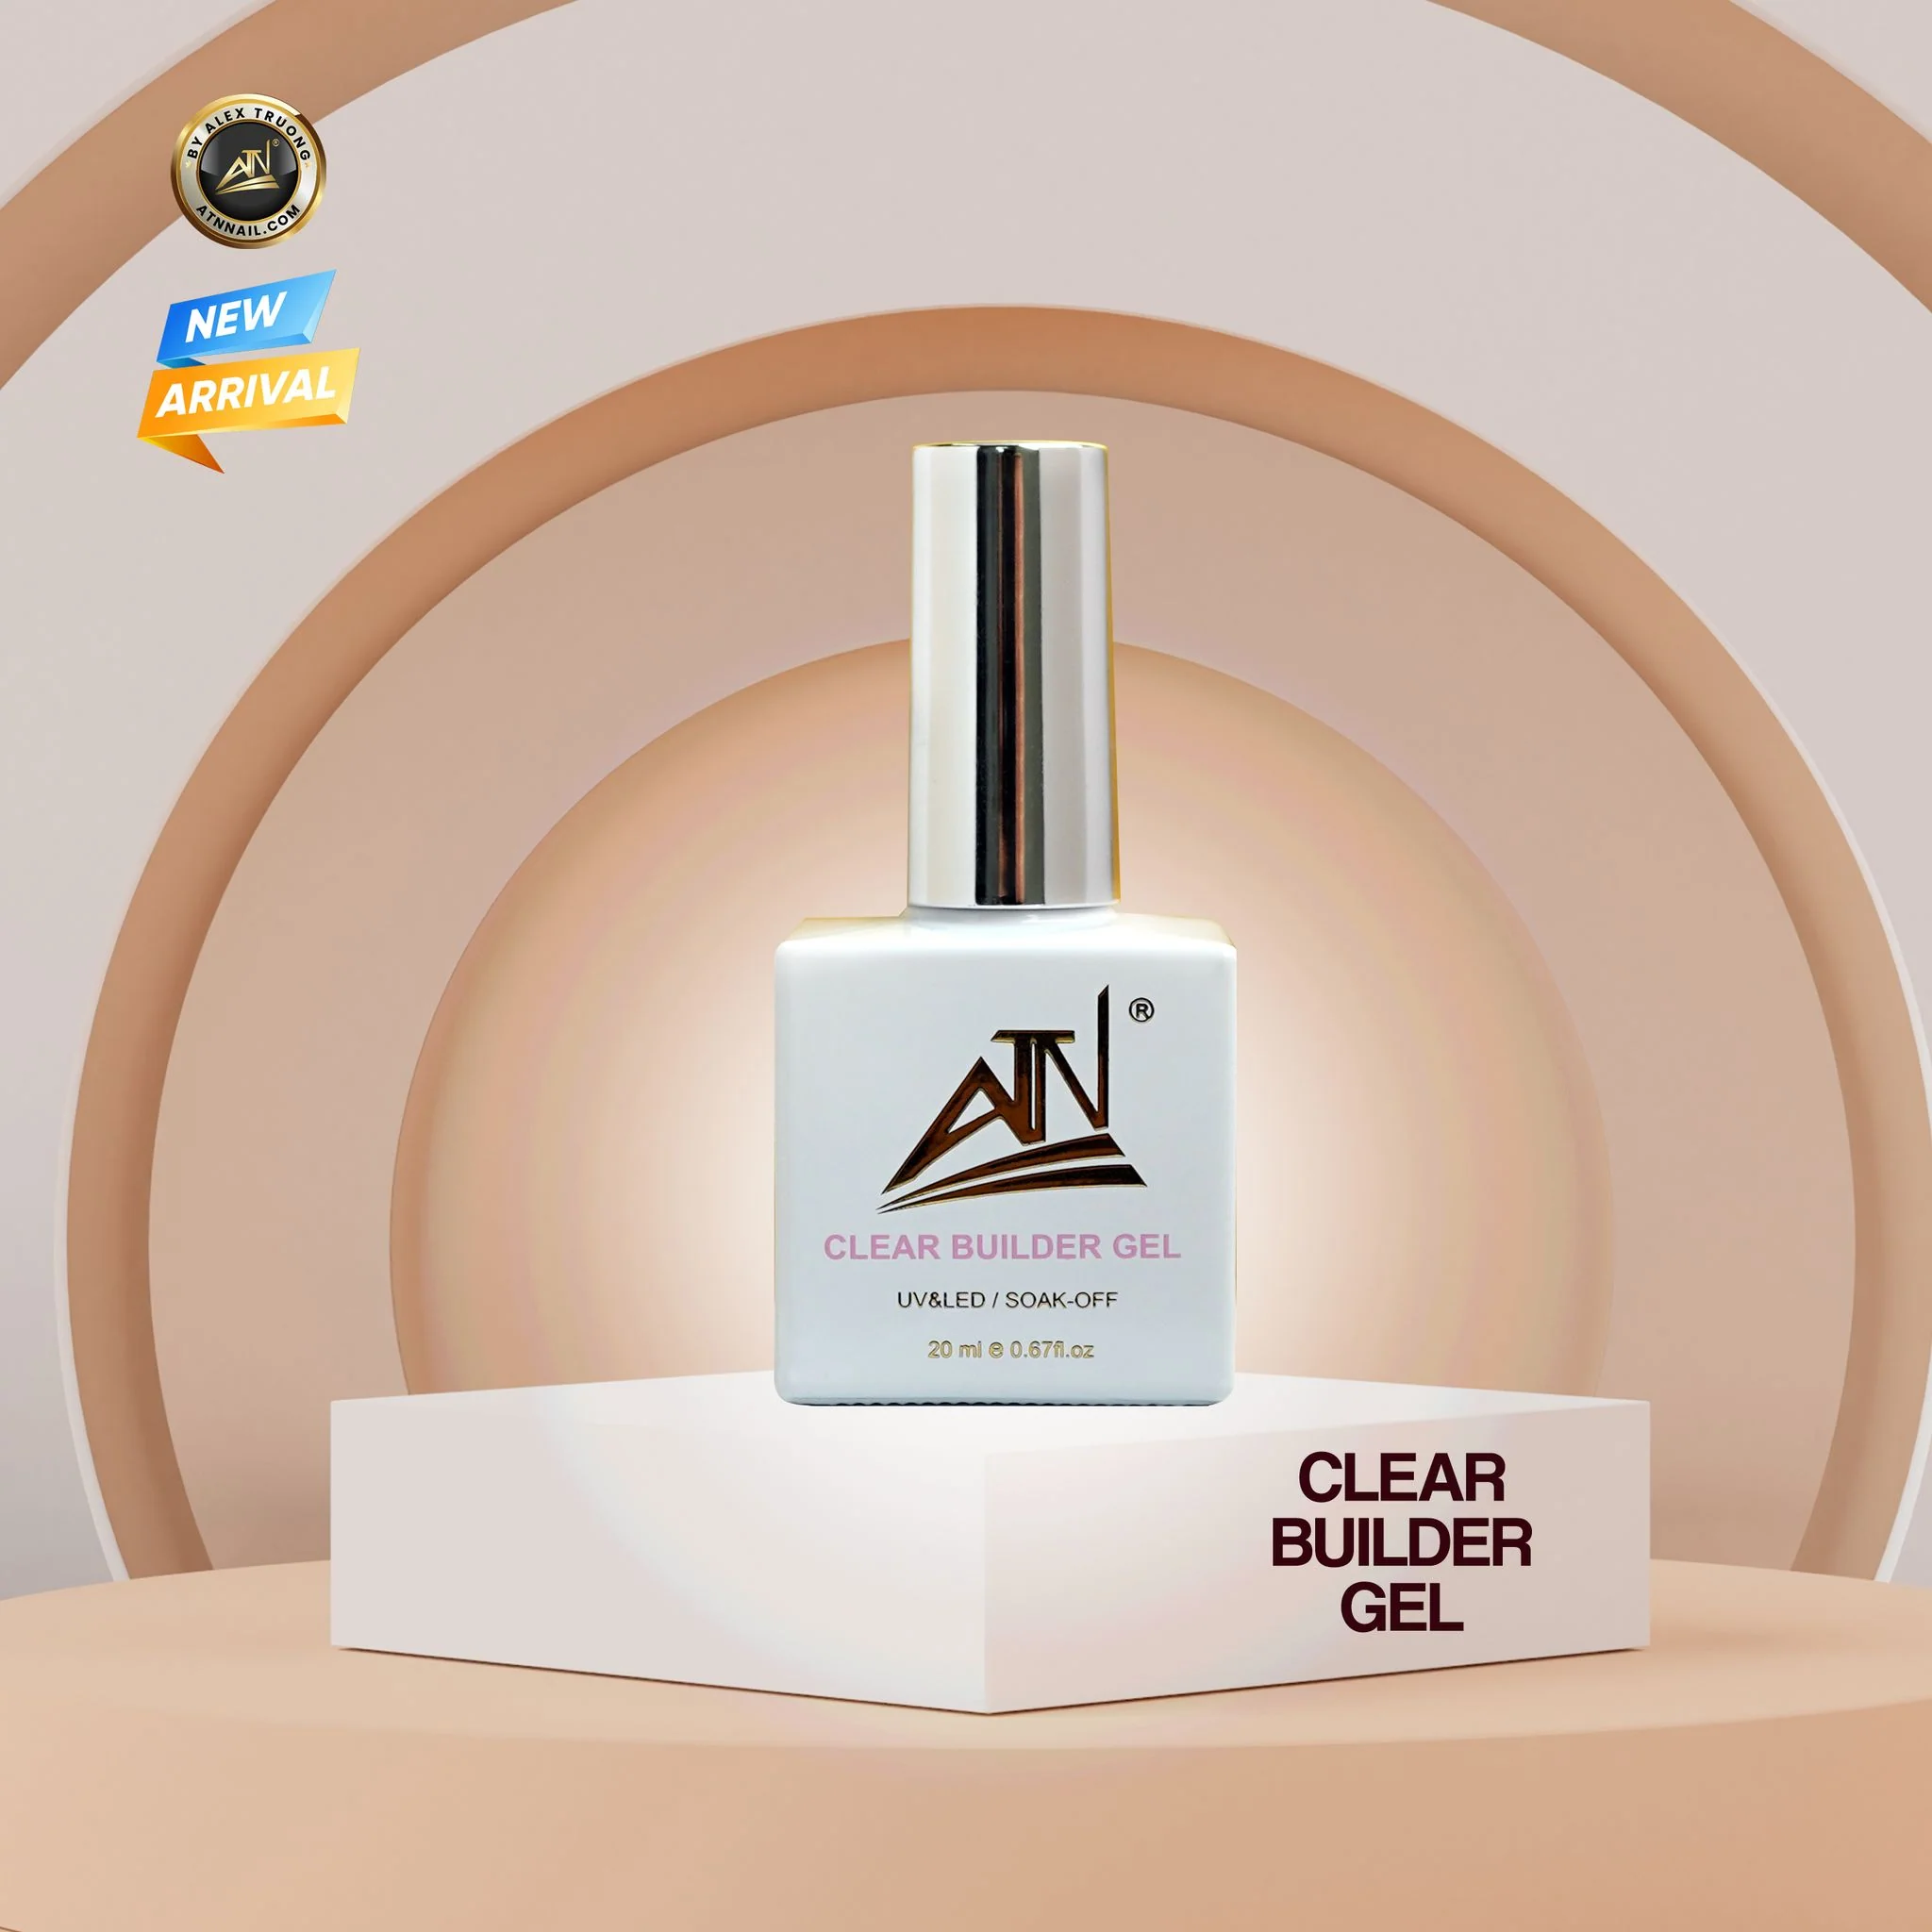
Original: $20.00
-65%$20.00
$7.00Description
..
1. Preparation (The Most Important Step)
-
Sanitize: Clean your hands and tools.
-
Prep the Cuticle: Gently push back your cuticles and remove any dead skin from the nail plate.
-
Buff: Lightly buff the surface of the nail with a fine-grit buffer to remove the shine. This gives the gel something to "grip."
-
Dehydrate & Prime: Wipe the nails with alcohol or a nail dehydrator, then apply a primer to ensure maximum adhesion.
2. The Base Layer
-
Apply a thin base coat (unless your specific builder gel is a "1-step" product).
-
Cure in a UV/LED lamp for 30–60 seconds.
3. Applying the Builder Gel
This is where the "building" happens. You generally want to use a three-step application for the gel itself:
-
The Slip Layer: Apply a very thin layer of the builder gel over the entire nail. Do not cure yet. This "wet" layer helps the next bead of gel flow into place.
-
The Bead: Pick up a larger bead of gel on your brush. Place it near the cuticle (but not touching the skin) and gently guide it down the center and toward the sides.
-
Self-Leveling: Flip your hand upside down for 5–10 seconds. This allows gravity to pull the gel toward the center, creating a natural "apex" (the strongest part of the nail).
4. Curing and Refining
-
Cure: Place your hand in the LED lamp for 60–90 seconds (or 2 minutes for UV).
Tip: If you feel a "heat spike," take your hand out for a few seconds, then put it back in.
-
Wipe: Use a lint-free wipe and 70% isopropyl alcohol to remove the sticky "inhibition" layer.
-
Shape: Use a nail file to refine the shape and smooth out any bumps.
5. Final Touch
-
Wipe away the dust from filing.
-
Apply a Gel Top Coat for high shine and protection.
-
Cure one last time for 60 seconds.